
Tools
These are some of the tools I use regularly when conducting material experiments. Some of them are more basic than others but each one has been useful in my experience.
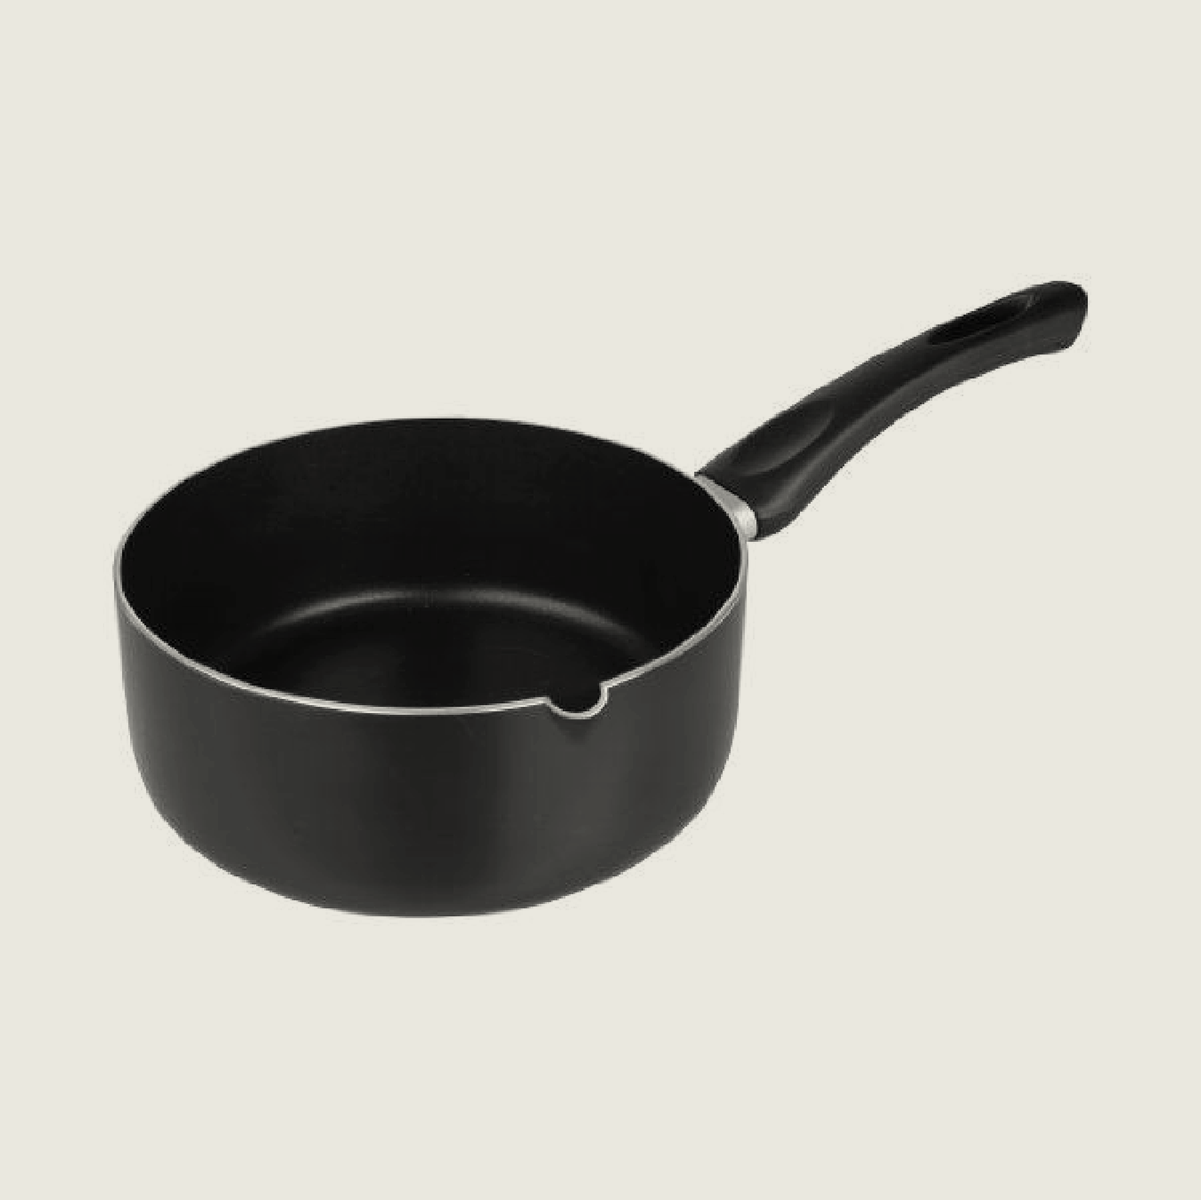
NON-STICK POT
Almost every recipe requires the use of a non-stick pot such as this one! I recommend one with a spout so that you can easily pour your mixtures into your mold. Be sure to use a separate pot for cooking your materials than for cooking your food.

SILICONE SPATULA
Trust me when I tell you it will make your life easier to use a silicone spatula from the start. While some recipes will do just fine with a wooden spoon, you won’t really know if that’s the case or not until it’s too late.

MEASURING CUP
Obviously measuring cups are a quintessential kitchen tool. However I use silicone cups for my material ingredients to keep them separate from food. The silicone also helps when measuring particularly sticky ingredients.

SILICONE MAT
I have found silicone molds to de-mold better than cooking sheets for most materials. To get a large sheet mold for a relatively cheap price, I recommend searching for silicone baking mats or dog food mats (such as the one above).

SHEET PAN
If not using silicone mats, cooking sheets are a great readily-available alternative. Especially if you need to make large sheets of materials, you can dry multiple cooking sheets on a drying rack at one time.

KITCHEN SCALE
When I started to get serious about material making, one of the first things I did was upgrade my kitchen scale. I use it for every single recipe and it helps to create more precise and repeatable recipes.

SIEVE
I don’t always use a sieve but it comes in handy when you want to make a truly homogenous mixture. Especially with gelatin recipes which tend to clump, it helps the material dry into a nice flat, even surface if you pour it through a sieve.

CHEMEX
I’m a sucker for a Chemex. I have one for my morning coffee and one for material making. It comes in such handy for making natural dyes that need to simmer or mixing up big batches of material.

SYRINGE
A plastic syringe can be helpful in a few ways; for one, it allows for precise application of a material or dye. It can also be a great way to prototype how a material would extrude through a plastic nozzle for 3D paste printing.

TILE MAT
I know this seems like a random addition but a ceramic tile mat has saved many a material about to warp when drying. The weight from the tiles help hold the material down while the netting between tiles allows continual airflow for drying.

MORTAR & PESTLE
What’s better than a mortar & pestle that is not only functional but beautiful as well? I have found a mortar & pestle helpful for grinding ingredients into a powder to more readily and smoothly incorporate them in a solution.

DOUBLE BOILER
When working with natural waxes and resins, I have found a double walled boiler to be a lifesaver. Often found with candle making supplies, it prevents resins and waxes from burning the bottom of your pan and ruining it.

DEHYDRATOR
A dehydrator is definitely not necessary for most of recipes I’ve encountered. However if you’re using food waste – especially peels and rinds – it can be helpful to dehydrate them first and then grind them up into a powder.

SCREENS
There are some scenarios where I need access to both sides of a material; for example, when setting sodium alginate or drying a material evenly. In these cases I’ve found silkscreen frames to be the best simple and affordable solution.

SPRAY BOTTLE
Again, when setting sodium alginate you will need to spray a material with a calcium salt solution. I recommend cleaning and reusing an existing spray bottle you may have to repurpose it.

BUTANE TORCH
Almost every recipe will develop air bubbles from the process of heating and stirring the material. To pop these bubbles and create a smooth surface, you can lightly heat the surface with a butane torch.